Photoshop comes with bun
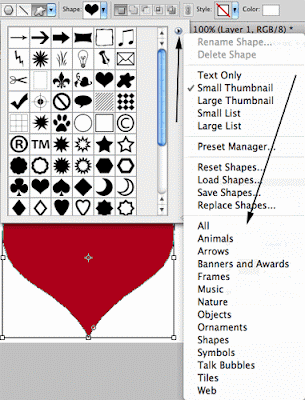
 ches of shapes. If you don't see the shape you want, select the flyout menu and select from dozens more as shown in this first image.
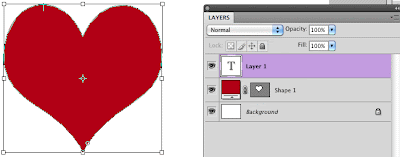
After you find the shape you want, drag and size it on your canvas area. Next, select the Type Tool. Click inside the shape you just created.
Photoshop will display a box around your shape as shown in the second image.

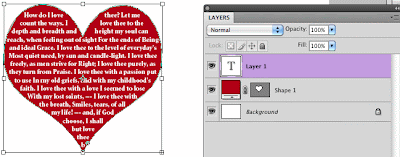
Check your font and color then begin typing your text inside the shape you created. In this case, I just copied and pasted a poem inside the heart.
 You may need to adjust the font size so that all of your text fits nicely inside your shape. To make it look even nicer, I centered my text too.
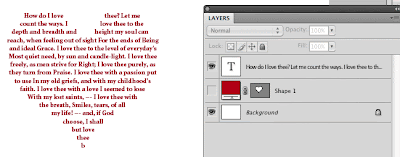
What if you don't want the shape to actually show and you just wanted your text to be in the shape you selected?
Here is all you need to do.
Hide the shape layer and select the text layer. In my case the text was white so it didn't show on my canvas. When I selected my text layer I had to double click my text then, in the option palette I changed my text color to red.
How neat is that!?

Now for my video of the month.
What would happen if our old video games escaped out of our old television sets?
Check out this video to see the results.
No comments:
Post a Comment